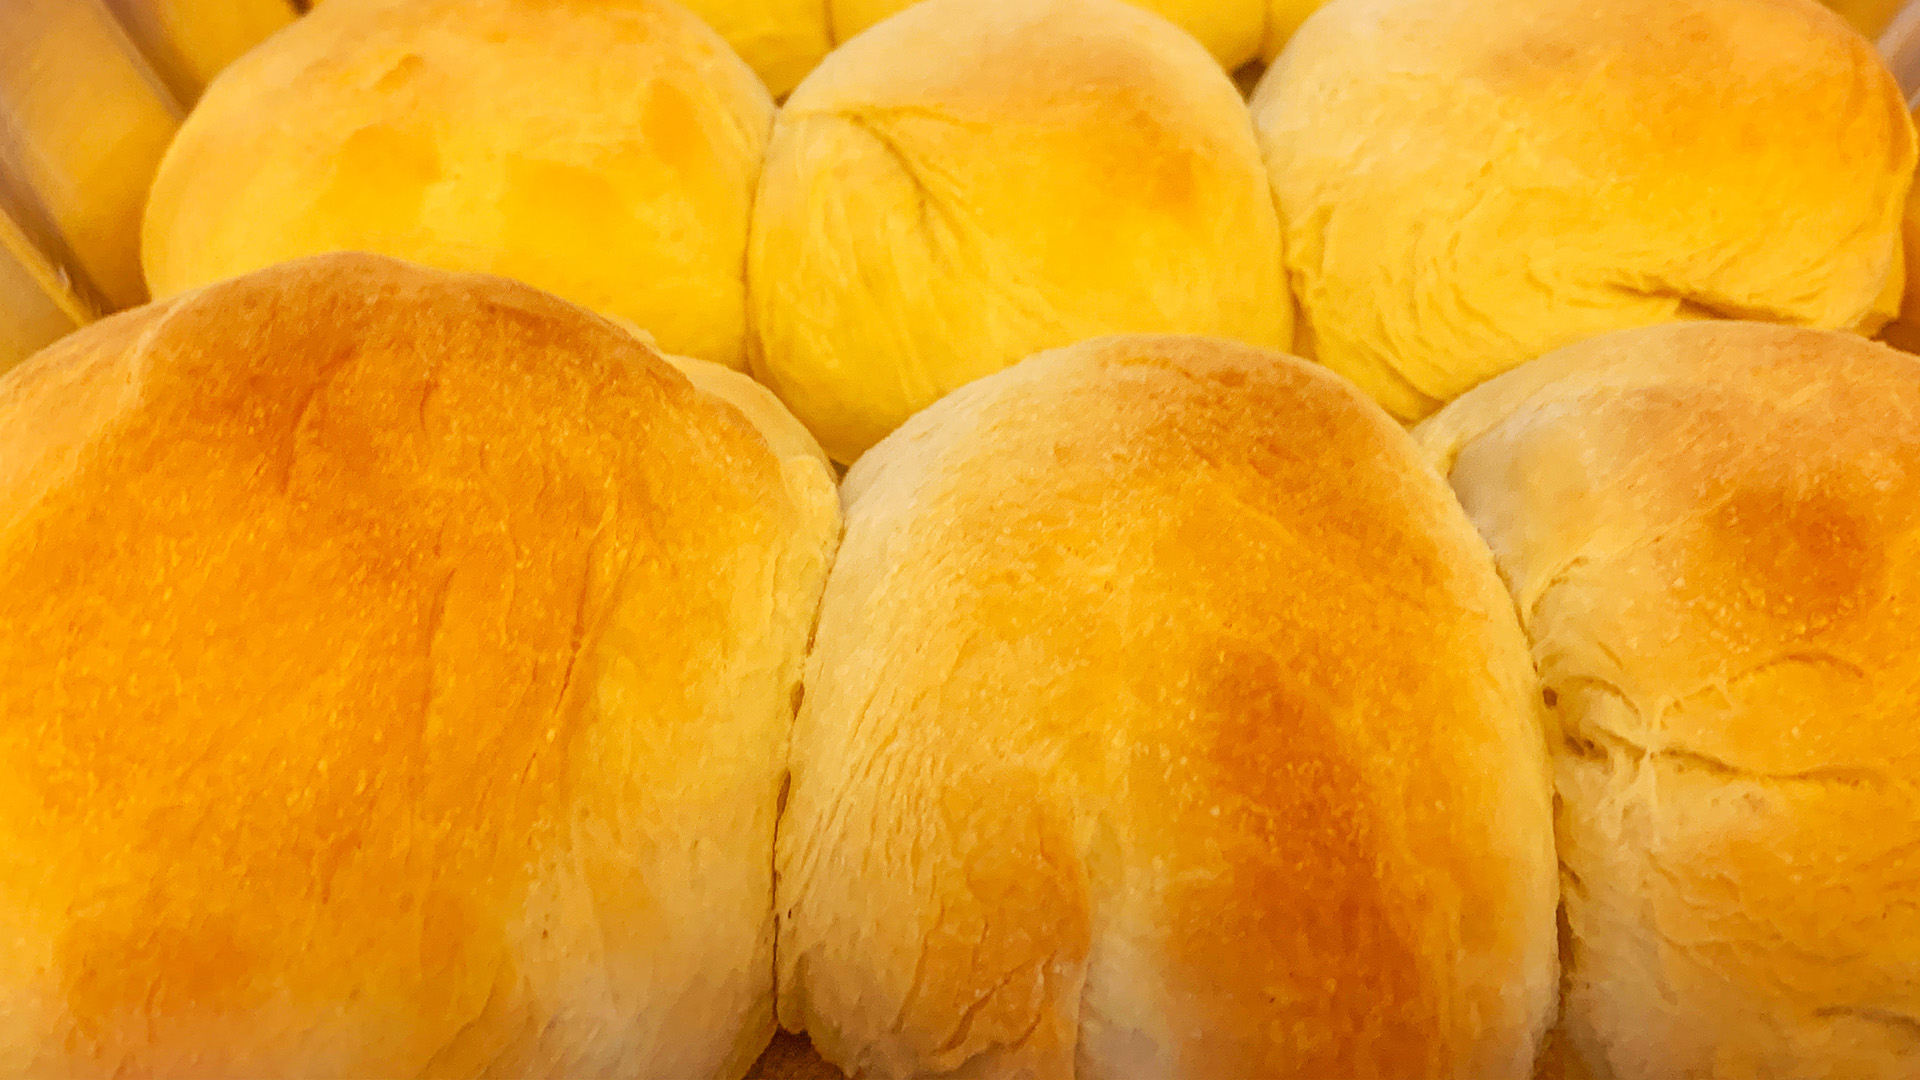
Yeast Rolls

Makes 12 rolls. You can make the dough and shape the rolls up to a day ahead of baking. Take the recipe to the point where the rolls are shaped and in the pan but not yet proofed and immediately refrigerate them. About four hours before you're ready to bake, transfer them to a warm place to let them proof until almost doubled before baking them.
Ingredients:
- 1 tablespoon active-dry yeast (3 packets)
- ½ cup (4 oz) warm water ~110º F
- ½ cup (4 oz) milk (whole, 2%, or skim) ~110º F
- 1 large egg
- 2 tablespoons vegetable oil
- 2 tablespoons granulated sugar
- 1 teaspoon salt
- 3 cups (15 oz) all-purpose flour. The correct amount of flour is very important. Don't scoop the flour with a measuring cup, packing the flour in. Either measure it out by weight, or spoon the flour into the measuring cup, leveling off the cup with a knife.
- 1 tablespoon butter
Preparation:
- If you are using active-dry yeast (if you are using rapid-rise instant yeast skip to Step 2), in a seperate bowl, stir the yeast into the warm water and let it sit until dissolved. In the bowl of a standing mixer (or a large bowl if mixing by hand), warm up the bowl with warm water and then whisk together the milk, egg, oil, sugar, and salt. Add the yeast mixture and stir until combined. Add all the flour and stir until it forms a shaggy dough.
- Skip to Step 3 if you completed Step 1 with active-dry yeast. If you are using rapid-rise instant yeast, in the bowl of a standing mixer (or a large bowl if mixing by hand), warm the bowl with warm water and then whisk together the water, milk, egg, oil, sugar, salt, and yeast and stir until combined. Add all the flour and stir until it forms a shaggy dough.
- Knead at low speed, or by hand against the counter, for 8-10 minutes, until smooth but slightly tacky. It should spring back when poked, and not stick to your skin. If it does stick to your skin, add a tablespoon of flour, mix, and recheck.
- Cover the mixing bowl and let the dough rise in a warm spot until doubled in bulk, about an hour (about 45 minutes if using ripid rise yeast). You can let the dough rise in the oven by setting the oven to its lowest temperature for two minutes, then turning the oven off and placing the covered mixing bowl into the oven.
- Shape the rolls:
- Sprinkle your work surface with flour and turn out the dough on top. Sprinkle a little more flour over the surface of the dough and pat it gently into a square about an inch and a half thick. Cut the dough into 12 evenly-sized pieces. Uneven pieces will not cook at the same rate.
- Coat your hands in flour between shaping each roll instead of the work surface (adding too much flour can make the rolls tough and dry on the outside).
- Working with one piece of dough at a time, fold the edges and corners together on the top, then turn the roll over with the folds on the bottom.
- Form a cage around the dough with your thumb and middle finger. Roll the dough in a circular motion with your fingertips just brushing the work surface, creating a slight tension to the the dough at the top of the roll. At this point, the roll should start looking like a roll. The aim here is to make the surface of the roll very taut, which will help it keep it's ball shape while rising and baking. Try to draw the top of the roll down and tuck it underneath as you roll.
- When the roll holds its ball shape on its own, you're done. Transfer the roll to the baking sheet or pan and continue with the rest of the batch.
- Line a 9 x 13 pan with parchment and spray with nonstick coating. Arrange the rolls inside the pan spaced a little apart. Let the rolls rise until they look pillowy and fill the pan, roughly 30-40 minutes (or 20 minutes if using rapid rise yeast). While the rolls are rising, pre-heat the oven to 375°F.
- Melt the butter and brush it over the risen dinner rolls. This helps the tops to brown and keeps the crust soft.
- Bake the rolls until golden, 15-18 minutes.
- Lift the rolls from the pan using the parchment and let the rolls cool on a wire rack until cool enough to handle. They are best if eaten within a day or two, but will keep in an airtight container on the counter for up to a week. Rolls can also be frozen for up to 3 months and reheated in a warm oven.
ADVERTISEMENT 
